# 在 RHEL 兼容 Linux 上部署 Silo
LLMS 索引: [llms.txt](/zh/llms.txt)
---
本页介绍如何在 RHEL 及其二进制兼容 Linux 发行版上部署 Silo。
Silo 为 x86-64 与 ARM64 发布 RPM 软件包和独立 Linux 归档。项目没有单独发布 RHEL 支持生命周期矩阵,因此已删除继承文档中的时间点版本清单。请选择仍处于发行商支持期内的版本,保持内核与系统库更新,并在生产使用前验证精确的存储与工作负载配置。
本步骤重点介绍生产级 多机多盘 (MNMD)“Distributed”配置。 MNMD 部署可提供企业级性能、可用性和可扩展性,是所有生产工作负载的推荐拓扑。
本步骤也包含对 单机多盘 (SNMD) 和 单机单盘 (SNSD) 拓扑的指导,适用于早期开发和评估环境。
## 注意事项 {#id2}
### 检查清单 {#id3}
在执行本步骤前,请先阅读我们发布的硬件、软件和安全检查清单。
### 纠删码校验 {#id4}
MinIO 会根据拓扑中的节点和驱动器总数,自动为集群确定默认的 [纠删码](/zh/operations/concepts/erasure-coding/#minio-erasure-coding) 配置。 你可以在设置集群时配置按对象生效的 [parity](/zh/glossary/#term-parity),也可以让 MinIO 选择默认值(生产级集群默认为 `EC:4`)。
校验值决定了对象可用性与磁盘存储占用之间的关系。 可使用 MinIO [纠删码计算器](https://min.io/product/erasure-code-calculator) 选择适合你集群的纠删码校验级别。
虽然你可以随时更改纠删码校验设置,但以既有校验值写入的对象 **不会** 自动更新为新的校验设置。
### 基于容量的规划 {#id5}
MinIO 建议在存储使用率达到 70% 之前,预先规划足以存放 **至少** 2 年数据的存储容量。 过于频繁地执行 [服务器池 扩容](/zh/operations/deployments/baremetal-expand-minio-deployment/#expand-minio-distributed),或按“just-in-time”方式扩容,通常说明架构或规划存在问题。
例如,假设某套应用每年预计至少生成 100 TiB 数据,并以 3 年后再扩容为目标。 若在部署初期就提供约 500 TiB 可用存储,集群即可在安全满足 70% 阈值的同时,为每年的数据增长预留额外缓冲。
建议使用 MinIO [纠删码计算器](https://min.io/product/erasure-code-calculator),围绕具体纠删码设置进行容量规划。
## 步骤 {#id6}
### 1. 下载 Silo RPM 包 {#minio-rpm}
从[下载与安装](/zh/download/#server)获取 x86-64 或 ARM64 RPM,校验发布摘要后安装:
```shell
sudo dnf install ./minio-*.rpm
```
当前 Silo 发布不提供继承文档中提到的 `ppc64le` 或 `s390x` 软件包变体。
### 2. 查看 `systemd` 服务文件 {#systemd}
`.rpm` 软件包会将以下 [systemd](https://www.freedesktop.org/wiki/Software/systemd/) 服务文件安装到 `/usr/lib/systemd/system/minio.service`:
```shell
[Unit]
Description=MinIO
Documentation=https://silo.pgsty.com/zh/docs/
Wants=network-online.target
After=network-online.target
AssertFileIsExecutable=/usr/local/bin/minio
[Service]
Type=notify
WorkingDirectory=/usr/local
User=minio-user
Group=minio-user
ProtectProc=invisible
EnvironmentFile=-/etc/default/minio
ExecStart=/usr/local/bin/minio server $MINIO_OPTS $MINIO_VOLUMES
# Let systemd restart this service always
Restart=always
# Specifies the maximum file descriptor number that can be opened by this process
LimitNOFILE=1048576
# Turn-off memory accounting by systemd, which is buggy.
MemoryAccounting=no
# Specifies the maximum number of threads this process can create
TasksMax=infinity
# Disable timeout logic and wait until process is stopped
TimeoutSec=infinity
# Disable killing of MinIO by the kernel's OOM killer
OOMScoreAdjust=-1000
SendSIGKILL=no
[Install]
WantedBy=multi-user.target
# Built for ${project.name}-${project.version} (${project.name})
```
### 3. 为 MinIO 创建用户和组 {#minio}
`minio.service` 文件默认以 `minio-user` 用户和组身份运行。 你可以使用 `groupadd` 和 `useradd` 命令创建该用户和组。 以下示例创建用户、组,并为计划供 MinIO 使用的文件夹路径设置访问权限。 这些命令通常需要 root(`sudo`)权限。
```shell
groupadd -r minio-user
useradd -M -r -g minio-user minio-user
```
以上命令创建的用户 **不包含** 主目录,这对系统服务账户来说是典型做法。
你 **必须** 对计划供 MinIO 使用的驱动器路径执行 `chown`。 如果 `minio-user` 用户或组无法读取、写入或列出任一驱动器的内容,MinIO 进程会在启动时返回错误。
例如,以下命令将 `/mnt/drives-n` 下所有驱动器的属主和属组设置为 `minio-user:minio-user`,其中 `n` 的范围为 1 到 16:
```shell
chown -R minio-user:minio-user /mnt/drives-{1...16}
```
### 4. 启用 TLS 连接 {#tls}
为 MinIO 创建或提供 [传输层安全 (TLS)](/zh/operations/network-encryption/#minio-tls) 证书,以自动启用 server 与客户端之间的 HTTPS 安全连接。
请将证书放置在 `minio-user` 用户/组可访问的目录中:
```shell
mkdir -p /opt/minio/certs
chown -R minio-user:minio-user /opt/minio/certs
cp private.key /opt/minio/certs
cp public.crt /opt/minio/certs
```
对于本地测试或开发环境,你可以使用 MinIO [certgen](https://github.com/minio/certgen) 生成自签名证书。 例如,以下命令会生成一组带有 IP 和 DNS Subject Alternate Names (SANs) 的自签名证书,这些 SAN 与 MinIO 服务端 主机关联:
```shell
certgen -host "localhost,minio-*.example.net"
```
将生成的 `public.crt` 和 `private.key` 放入 `/path/to/certs` 目录,以为 MinIO 部署启用 TLS。 应用程序可以将 `public.crt` 作为受信任的证书颁发机构,从而在不禁用证书校验的情况下连接到 MinIO 部署。
当 MinIO 启用 TLS 运行时,它还会根据操作系统中的受信任证书颁发机构列表来验证连接客户端的证书。 若要启用对第三方证书或内部签发证书的验证,请将 CA 文件放入 `/opt/minio/certs/CAs` 目录。 CA 文件应包含从叶子证书到根证书的完整信任链,以确保验证成功。
有关为 MinIO 配置 TLS 的更具体指导,包括通过 Server Name Indication (SNI) 支持多域名,请参阅 [网络加密(TLS)](/zh/operations/network-encryption/#minio-tls)。 你也可以跳过此步骤,以在未启用 TLS 的情况下部署。MinIO 强烈 *不建议* 在早期开发之外的场景中进行非 TLS 部署。
### 5. 创建 MinIO 环境文件 {#id7}
在 `/etc/default/minio` 创建环境文件。 MinIO 服务将该文件作为 MinIO *以及* `minio.service` 文件所用全部 [环境变量](/zh/reference/minio-server/settings/#minio-server-environment-variables) 的来源。
请根据你的部署拓扑修改示例。
**多机多盘**
在生产环境中使用 多机多盘(“Distributed”)部署拓扑。
```shell
# Set the hosts and volumes MinIO uses at startup
# The command uses MinIO expansion notation {x...y} to denote a
# sequential series.
#
# The following example covers four MinIO hosts
# with 4 drives each at the specified hostname and drive locations.
#
# The command includes the port that each MinIO server listens on
# (default 9000).
# If you run without TLS, change https -> http
MINIO_VOLUMES="https://minio{1...4}.example.net:9000/mnt/disk{1...4}/minio"
# Set all MinIO server command-line options
#
# The following explicitly sets the MinIO Console listen address to
# port 9001 on all network interfaces.
# The default behavior is dynamic port selection.
MINIO_OPTS="--console-address :9001 --certs-dir /opt/minio/certs"
# Set the root username.
# This user has unrestricted permissions to perform S3 and
# administrative API operations on any resource in the deployment.
#
# Defer to your organizations requirements for superadmin user name.
MINIO_ROOT_USER=minioadmin
# Set the root password
#
# Use a long, random, unique string that meets your organizations
# requirements for passwords.
MINIO_ROOT_PASSWORD=minio-secret-key-CHANGE-ME
```
**单机多盘**
在开发和评估环境中使用 单机多盘 部署。 对于能够容忍节点停机带来数据丢失或不可用的小型存储工作负载,也可以使用该拓扑。
```shell
# Set the volumes MinIO uses at startup
# The command uses MinIO expansion notation {x...y} to denote a
# sequential series.
#
# The following specifies a single host with 4 drives at the specified location
#
# The command includes the port that the MinIO server listens on
# (default 9000).
# If you run without TLS, change https -> http
MINIO_VOLUMES="https://minio1.example.net:9000/mnt/drive{1...4}/minio"
# Set all MinIO server command-line options
#
# The following explicitly sets the MinIO Console listen address to
# port 9001 on all network interfaces.
# The default behavior is dynamic port selection.
MINIO_OPTS="--console-address :9001 --certs-dir /opt/minio/certs"
# Set the root username.
# This user has unrestricted permissions to perform S3 and
# administrative API operations on any resource in the deployment.
#
# Defer to your organizations requirements for superadmin user name.
MINIO_ROOT_USER=minioadmin
# Set the root password
#
# Use a long, random, unique string that meets your organizations
# requirements for passwords.
MINIO_ROOT_PASSWORD=minio-secret-key-CHANGE-ME
```
**单机单盘**
在早期开发和评估环境中使用 单机单盘(“Standalone”)部署。 MinIO 不建议在生产环境中使用 单机部署,因为节点或其存储介质丢失会导致数据丢失。
> [!WARNING]
> **重要**
>
> SNSD 部署不支持通过添加新的 服务器池 来扩展存储。
```shell
# Set the volume MinIO uses at startup
#
# The following specifies the drive or folder path
MINIO_VOLUMES="/mnt/drive1/minio"
# Set all MinIO server command-line options
#
# The following explicitly sets the MinIO Console listen address to
# port 9001 on all network interfaces.
# The default behavior is dynamic port selection.
MINIO_OPTS="--console-address :9001 --certs-dir /opt/minio/certs"
# Set the root username.
# This user has unrestricted permissions to perform S3 and
# administrative API operations on any resource in the deployment.
#
# Defer to your organizations requirements for superadmin user name.
MINIO_ROOT_USER=minioadmin
# Set the root password
#
# Use a long, random, unique string that meets your organizations
# requirements for passwords.
MINIO_ROOT_PASSWORD=minio-secret-key-CHANGE-ME
```
请根据部署需要,指定其他 [环境变量](/zh/reference/minio-server/settings/#minio-server-environment-variables) 或 server 命令行选项。
对于分布式部署,所有节点的 `/etc/default/minio` 环境文件 **必须** 完全一致。 可在每个节点上使用 `shasum -a 256 /etc/default/minio` 等工具验证其是否完全匹配。
### 6. 启动 MinIO 部署 {#id8}
使用 `systemctl start minio` 启动部署中的每个节点。
你可以在每个节点上使用 `journalctl -u minio` 跟踪启动状态。
启动成功后,MinIO 进程会输出一段部署摘要,类似如下:
```shell
MinIO 对象存储服务端
Copyright: 2015-2024 MinIO, Inc.
License: GNU AGPLv3 - https://www.gnu.org/licenses/agpl-3.0.html
Version: RELEASE.2024-06-07T16-42-07Z (go1.22.4 linux/amd64)
API: https://minio-1.example.net:9000 https://203.0.113.10:9000 https://127.0.0.1:9000
RootUser: minioadmin
RootPass: minioadmin
WebUI: https://minio-1.example.net:9001 https://203.0.113.10:9001 https://127.0.0.1:9001
RootUser: minioadmin
RootPass: minioadmin
CLI: https://silo.pgsty.com/zh/reference/minio-mc/#quickstart
$ mc alias set 'myminio' 'https://minio-1.example.net:9000' 'minioadmin' 'minioadmin'
Docs: https://silo.pgsty.com/zh/docs/
Status: 16 Online, 0 Offline.
```
在集群启动和同步期间,你可能会看到日志明显增多。
启动失败的常见原因包括:
- MinIO 进程对指定驱动器没有读、写、列出权限
- 驱动器不是空的,或其中包含非 MinIO 数据
- 驱动器未正确格式化或挂载
- 一个或多个主机无法通过网络访问
遵循我们的检查清单通常可以降低遇到这些或类似问题的风险。
### 7. 连接到部署 {#id9}
**Console**
打开浏览器,并通过任一 MinIO 主机名的 `:9001` 端口访问 [MinIO Console](/zh/administration/minio-console/#minio-console) 登录页。 例如:`https://minio1.example.com:9001`。
使用上一步中的 **MINIO_ROOT_USER** 和 **MINIO_ROOT_PASSWORD** 登录。
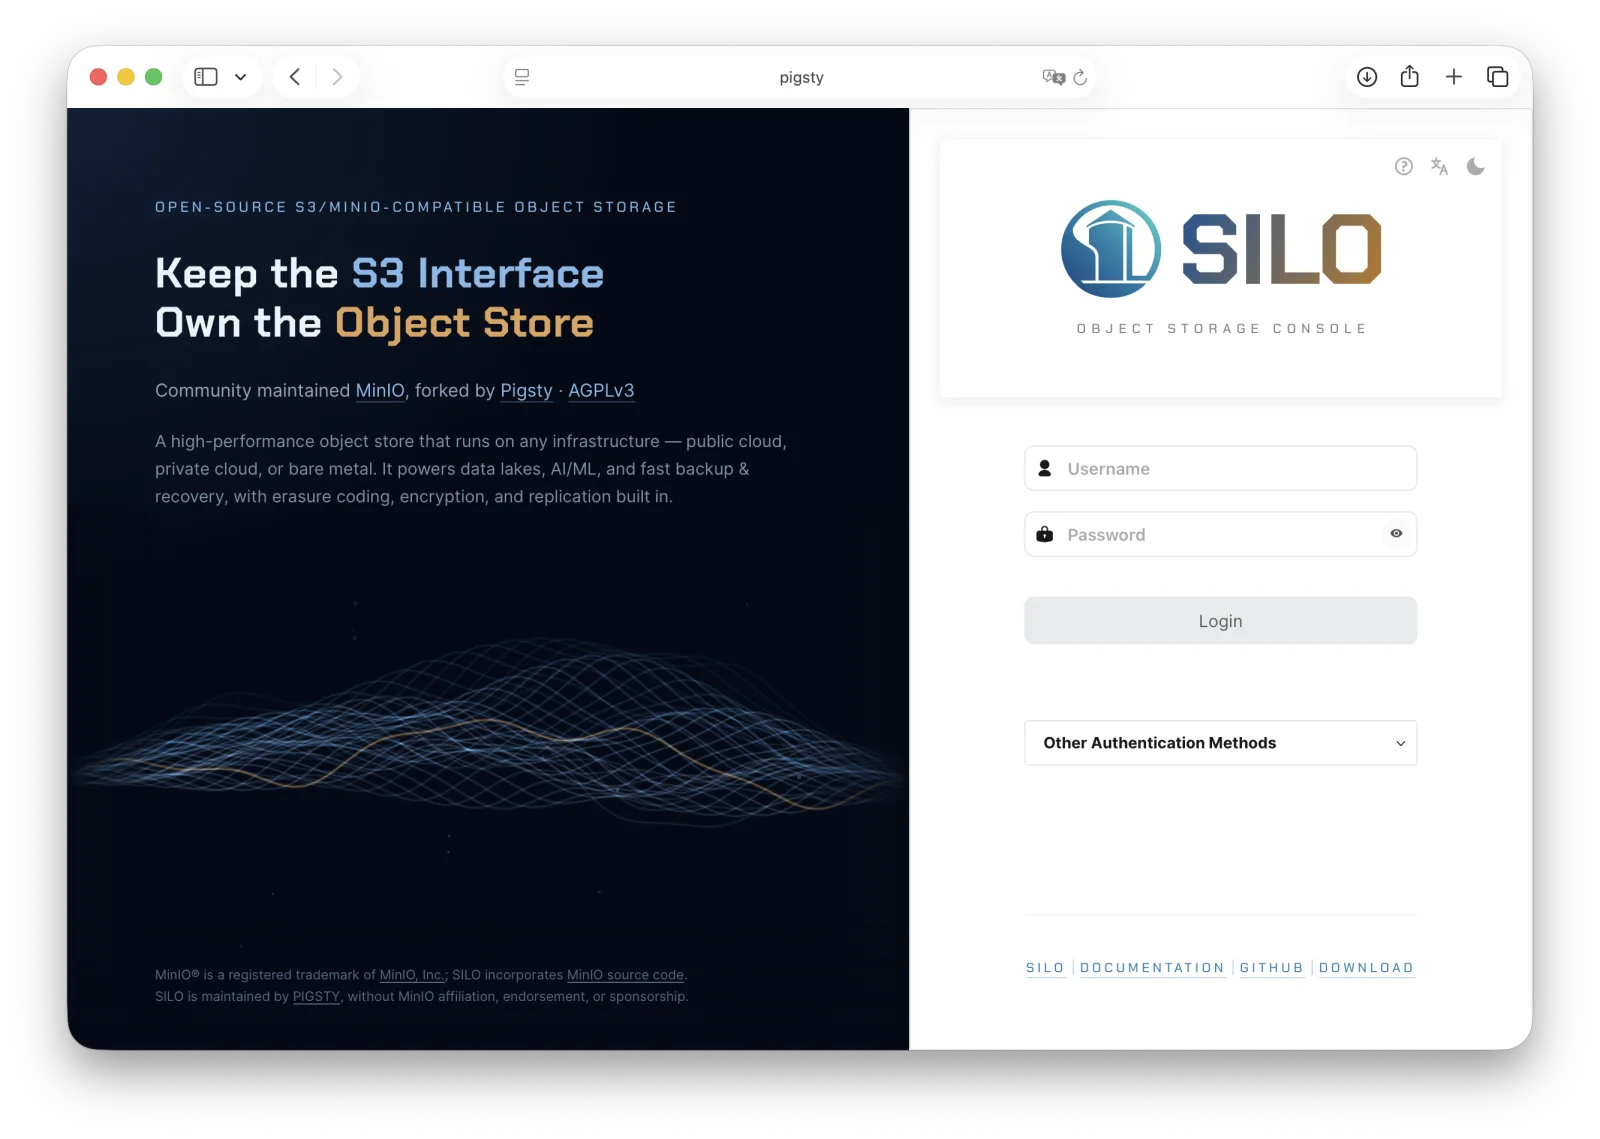 你可以使用 MinIO Console 执行常规管理任务,例如身份与访问管理、指标和日志监控,或 Server 配置。 每个 MinIO server 都包含自身内嵌的 MinIO Console。
**CLI**
请按照本地主机上的 `mc` [安装说明](/zh/reference/minio-mc/#mc-install) 完成安装。 运行 `mc --version` 验证安装结果。
如果你的 MinIO 部署使用第三方或自签名 TLS 证书,请将 CA 文件复制到 `~/.mc/certs/CAs`,以便 `mc` 信任该证书链。
安装完成后,为该 MinIO 部署创建一个别名:
```shell
mc alias set myminio https://minio-1.example.net:9000 USERNAME PASSWORD
```
请根据你的部署修改主机名、用户名和密码。 主机名可以是部署中的任意一个 MinIO 节点。 你也可以指定负责处理部署连接的负载均衡器、反向代理或类似网络控制平面的主机名。
### 8. 后续步骤 {#id10}
- 在可信网络之外暴露服务前,先[启用 TLS](/zh/operations/network-encryption/enable-minio-tls/)。
- 通过[身份与访问管理](/zh/administration/identity-access-management/)创建最小权限用户和策略。
- 配置[监控与告警](/zh/operations/monitoring/),并在投入生产前实际测试磁盘、节点与站点恢复流程。
你可以使用 MinIO Console 执行常规管理任务,例如身份与访问管理、指标和日志监控,或 Server 配置。 每个 MinIO server 都包含自身内嵌的 MinIO Console。
**CLI**
请按照本地主机上的 `mc` [安装说明](/zh/reference/minio-mc/#mc-install) 完成安装。 运行 `mc --version` 验证安装结果。
如果你的 MinIO 部署使用第三方或自签名 TLS 证书,请将 CA 文件复制到 `~/.mc/certs/CAs`,以便 `mc` 信任该证书链。
安装完成后,为该 MinIO 部署创建一个别名:
```shell
mc alias set myminio https://minio-1.example.net:9000 USERNAME PASSWORD
```
请根据你的部署修改主机名、用户名和密码。 主机名可以是部署中的任意一个 MinIO 节点。 你也可以指定负责处理部署连接的负载均衡器、反向代理或类似网络控制平面的主机名。
### 8. 后续步骤 {#id10}
- 在可信网络之外暴露服务前,先[启用 TLS](/zh/operations/network-encryption/enable-minio-tls/)。
- 通过[身份与访问管理](/zh/administration/identity-access-management/)创建最小权限用户和策略。
- 配置[监控与告警](/zh/operations/monitoring/),并在投入生产前实际测试磁盘、节点与站点恢复流程。